
Removing and installing a Turner Hastings toilet seat is very easy. Jordan demonstrates how to remove and then install a Turner Hastings toilet seat.
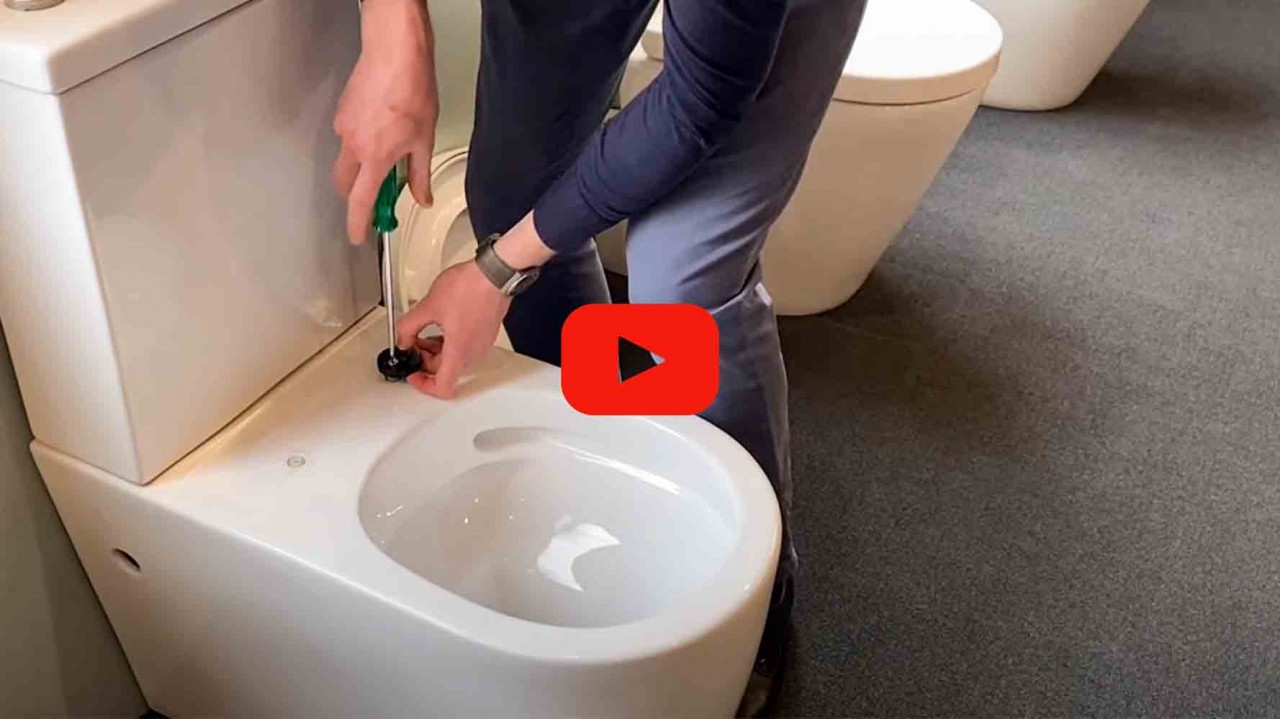
The luxury soft closing seat and quick release allows you to simply press two buttons and the seat slips off its hinges for easy cleaning around the fixing area. Using a flat head screw driver carefully lift off the cover plates, the fixing kit will then be exposed and you will be able to adjust the fixing pins or clean around the fittings.
Attaching the toilet seat back onto the toilet is a simple process of reversing the steps you took to remove the seat. Once the fixing kit is in position and tightened, add your toilet seat in the up position and ensure the lip of the toiler seat is flush with the edge of the toilet pan as shown in the video below.
The products these installation instructions relate to are the Turner Hastings Narva rimless toilet collection.
To view our range https://www.turnerhastings.com.au/bathroom/toilets

Learning Centre
-
Video